|
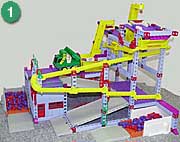
Perpetual
Motion
Here's an idea
that will keep your Conveyor running until you turn it off. Set
up your Conveyor to deliver the Rokenbok balls right back up to
the chute that dropped them down to the conveyor in the first
place. The balls will drop down through the chutes only to be
delivered back up to the top (That's how it got its name "Perpetual
Motion").
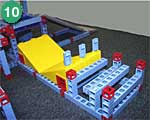
"The
Randomizer"
 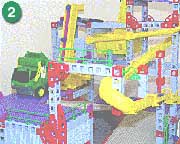
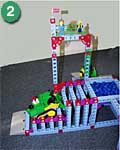
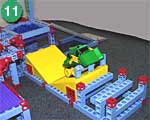
For
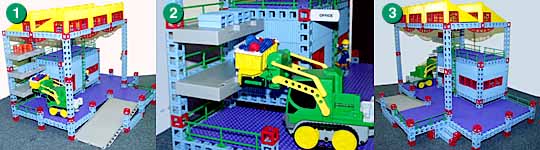
a real slick trick, try the "Randomizer" (Pictures 1 & 2). This
will keep your Conveyor from running endlessly. You'll also learn
a few great design ideas in the process of learning to build a "Randomizer"
including:
How to build new chutes out of Lego® bricks and
a deck pad;
How to use a Hopper with multiple chutes as a
Randomizer;
How to build "Floating Chutes".
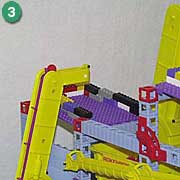 
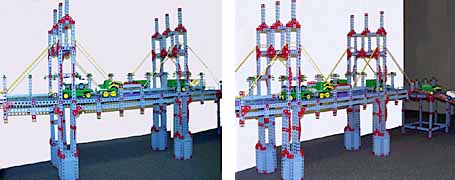
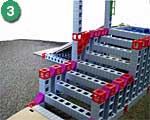
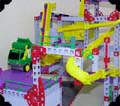
Picture 3 shows
the first Conveyor. This Conveyor drops balls onto a deck plate,
but notice that the beam in the back of the deck plate is 1 section
(hole) higher than the front beam. This allows the balls to roll
down the deck plate toward the second Conveyor. Use Lego® bricks
on 3 sides of the deck plate to channel your Rokenbok balls into
Conveyor #2.
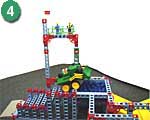
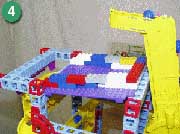
The second Conveyor uses the same concept. An angled deck plate
with Lego® bricks on 3 sides directs the flow of Rokenbok balls
into a Hopper (Picture 4).
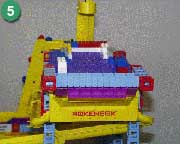 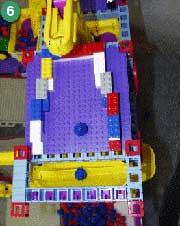
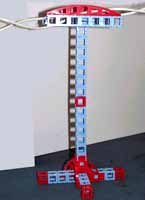
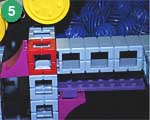
Using a Hopper
as a Randomizer is the real slick part! Take a look at Picture
5 closely. You'll notice that the Hopper has chutes coming off
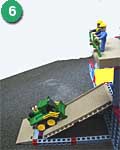
both sides. Because the Hopper floor floats freely (Picture 6),
about half the balls will fall down the chutes on the right and
the other half down chutes on the left in a random pattern. The
chute on the left leads directly back to the first Conveyor. The
chute on the right leads down to the Quarry. Balls that fall to
the right will end up in the Quarry and will no longer be in play.
Balls that fall to the left will go to the first Conveyor, which
will bring them back up to Conveyor #2 to start the process again.
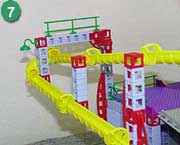 
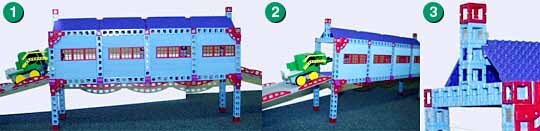
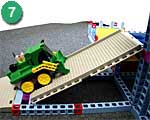
Check out the
"Floating Chute" to the right of the Hopper (the chute that leads
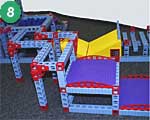
back to the Quarry) (Pictures 7 and 8)). Take a close look at
Picture 7, and you'll notice that the blue half beam with 2 red
blocks is only attached to the upper and lower parts of the chute
run. It doesn't attach to the rest of the structure, hence the
name "Floating Chute."
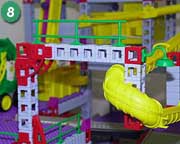
Picture 8 shows the start of the "Floating Chute"
and the initial support needed to build it. Add a red 'L' Shaped
Brace for support. Also, add upside down curved chutes to make
a tunnel. This keeps the fast moving balls from flying off in
the corner.
|